Cloud Phone Application

Add Cloud Phone Application
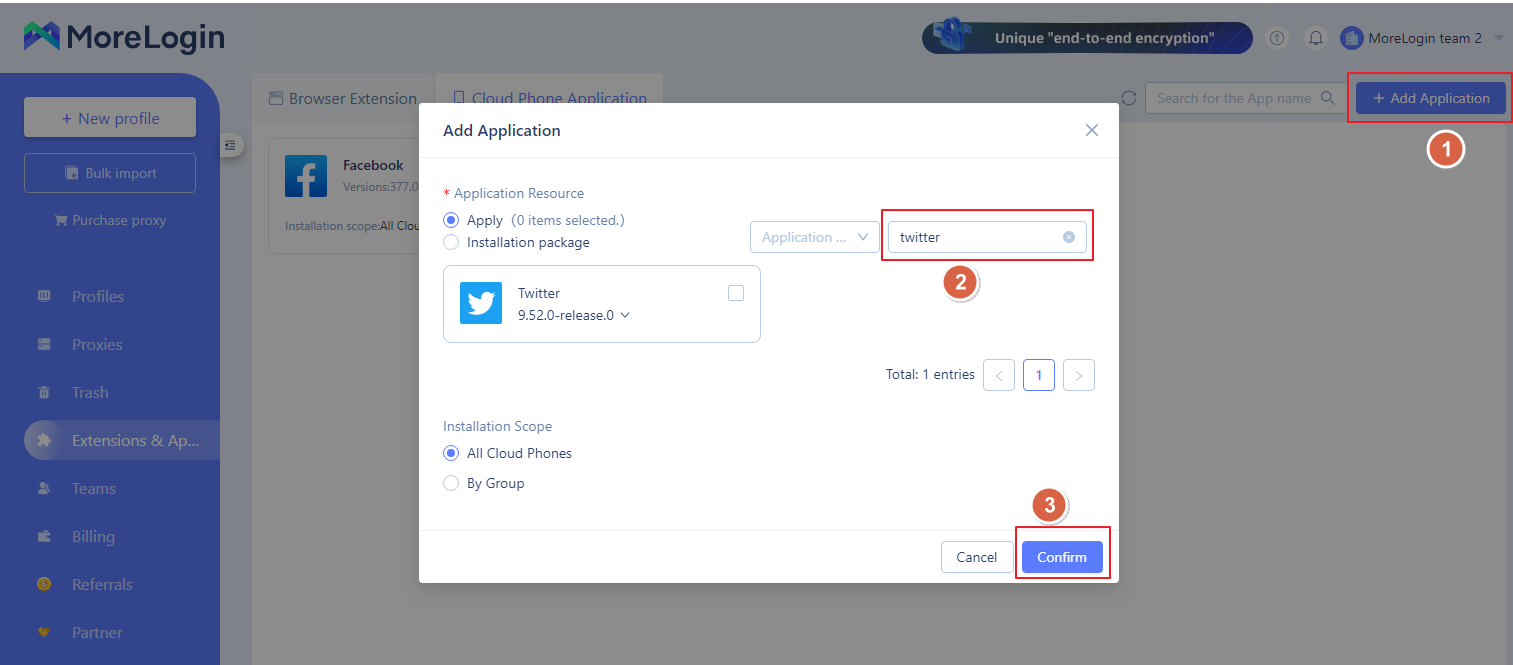
- Click on "Extensions & Apps" in the left navigation bar to open the Cloud Phone Applications page. In the top right corner, click on "Add Application."
- As an example, search for "Twitter" under "Add Application" - "Application Source," then select it.
- Alternatively, you can browse and select an app by category.
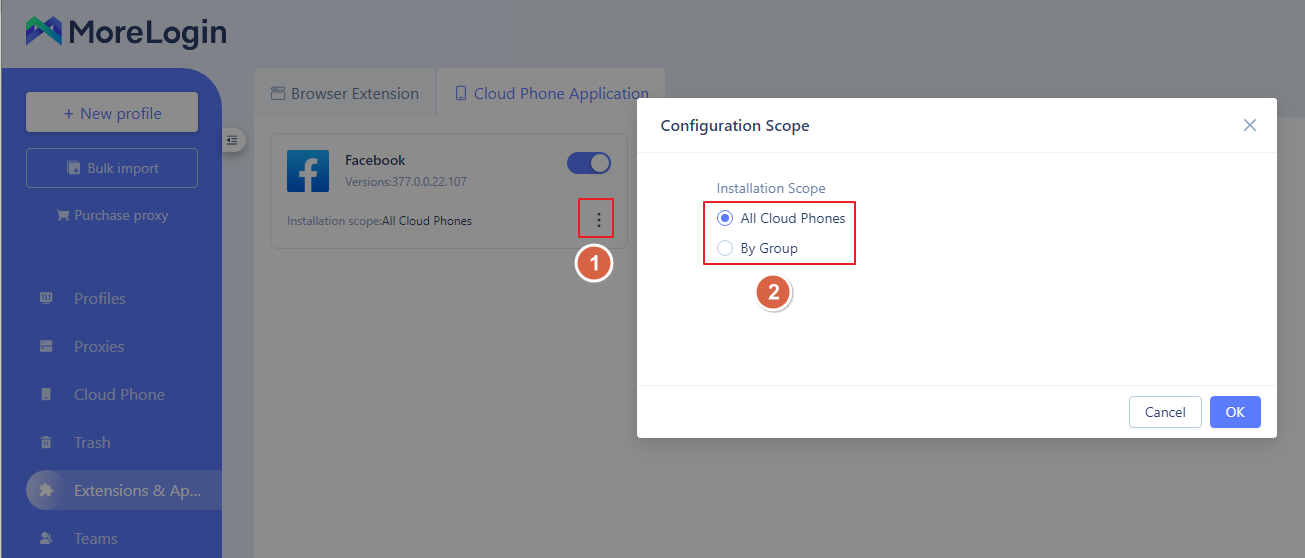
- Choose the installation scope: either "All Cloud Phones" or "By Group."
- Click "Confirm" to complete the installation.
Installation Package
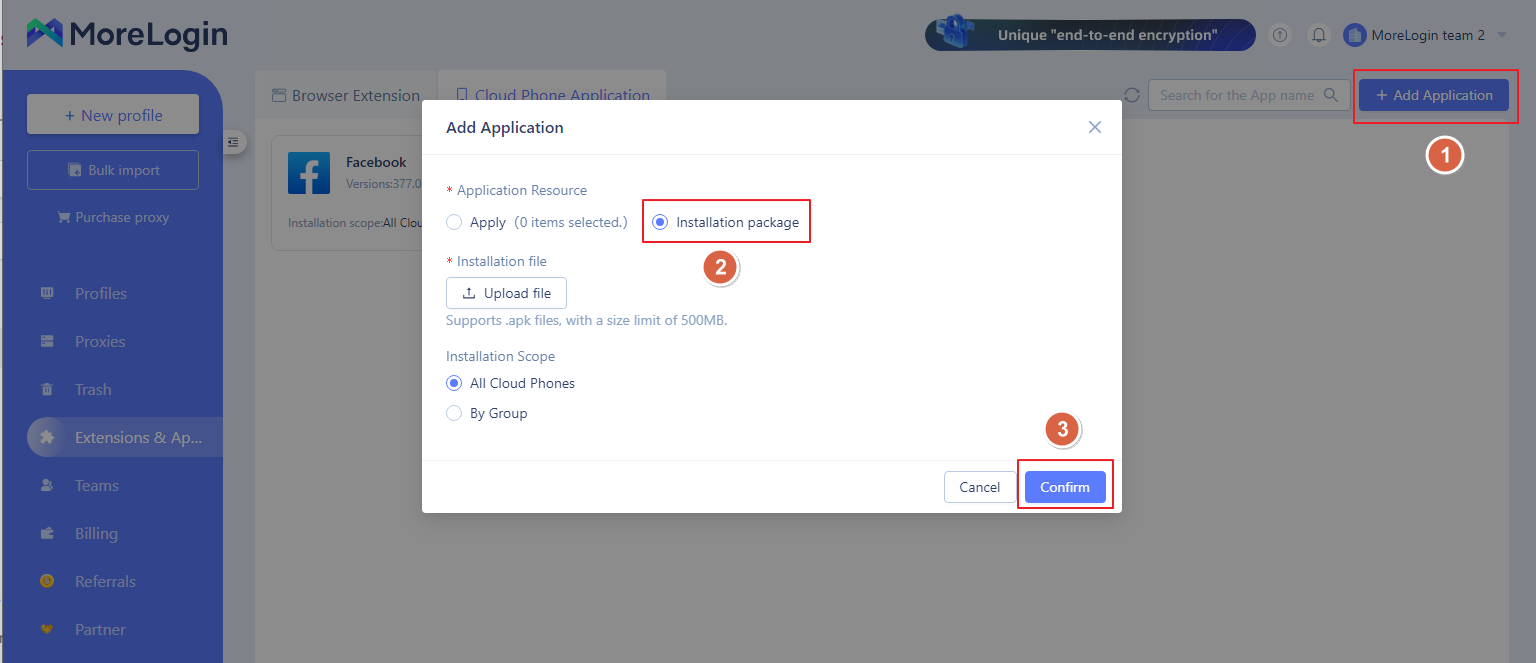
- Click on "Extensions & Apps" in the left navigation bar to open the Cloud Phone Applications page. In the top right corner, click on "Add App."
- For the app source, select "Installation Package."
- Installation File: click "Upload File" (supports APK files with a size limit of 500MB).
- Choose the installation scope: either "All Cloud Phones" or "By Group."
Cloud Phone Application Settings
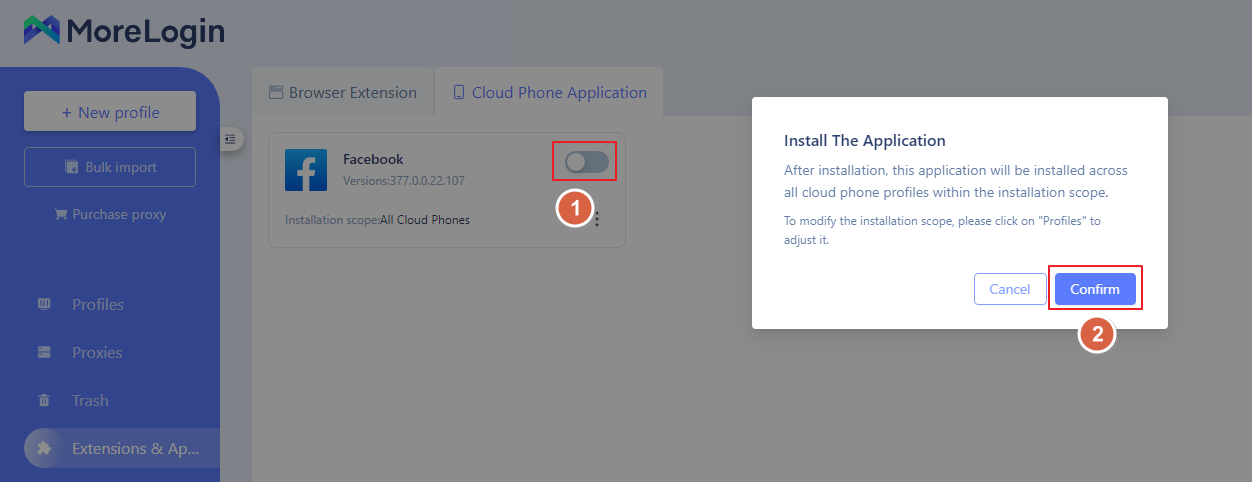
- Install Application: After "enabling" it, the cloud phone profiles within the selected installation range will install the application. Once the cloud phone profile is started, the application will appear in the application list.
- Disable Application: Once disabled, newly created Cloud Phones will no longer have this application installed, and it will not appear in the app list after launching the Cloud Phone.
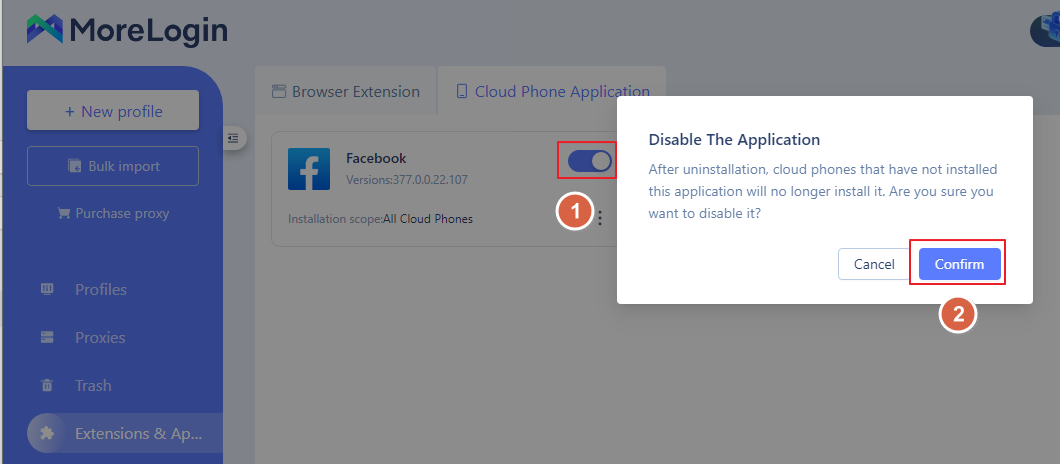
Note: However, the App will remain on previously created Cloud Phones.
- Installation Scope: You can choose to apply the settings to All Cloud Phones or By Group.
Delete Cloud Phone Application
- Locate the application you want to remove, click the "three dots" menu, and then click the "Delete" button to remove the application from the Cloud Phone.
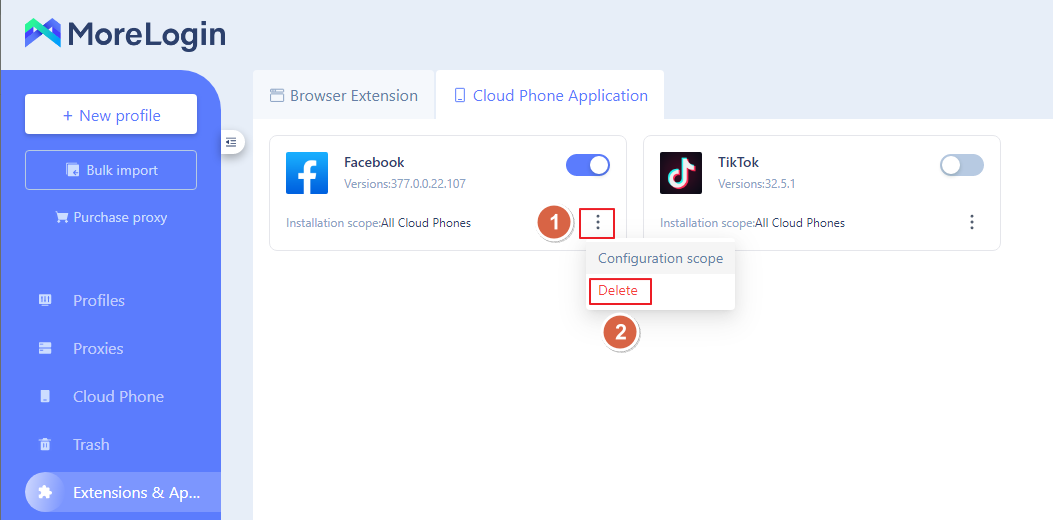
Note: After deletion, the app will still remain in the application list of previously created Cloud Phones.