Cloud Phone synchronizer

Introduction
Cloud Phone Synchronizer: You can operate a Cloud Phone profile and synchronize multiple Cloud Phone profiles to improve your business efficiency.
*Supports synchronization of all mouse and keyboard actions to the controlled window.
Start Sync
- First, you need to create and activate the Cloud Phone, then click "Synchronizer" in the upper right corner, check the windows that need to be synchronized, and click "Start Sync".
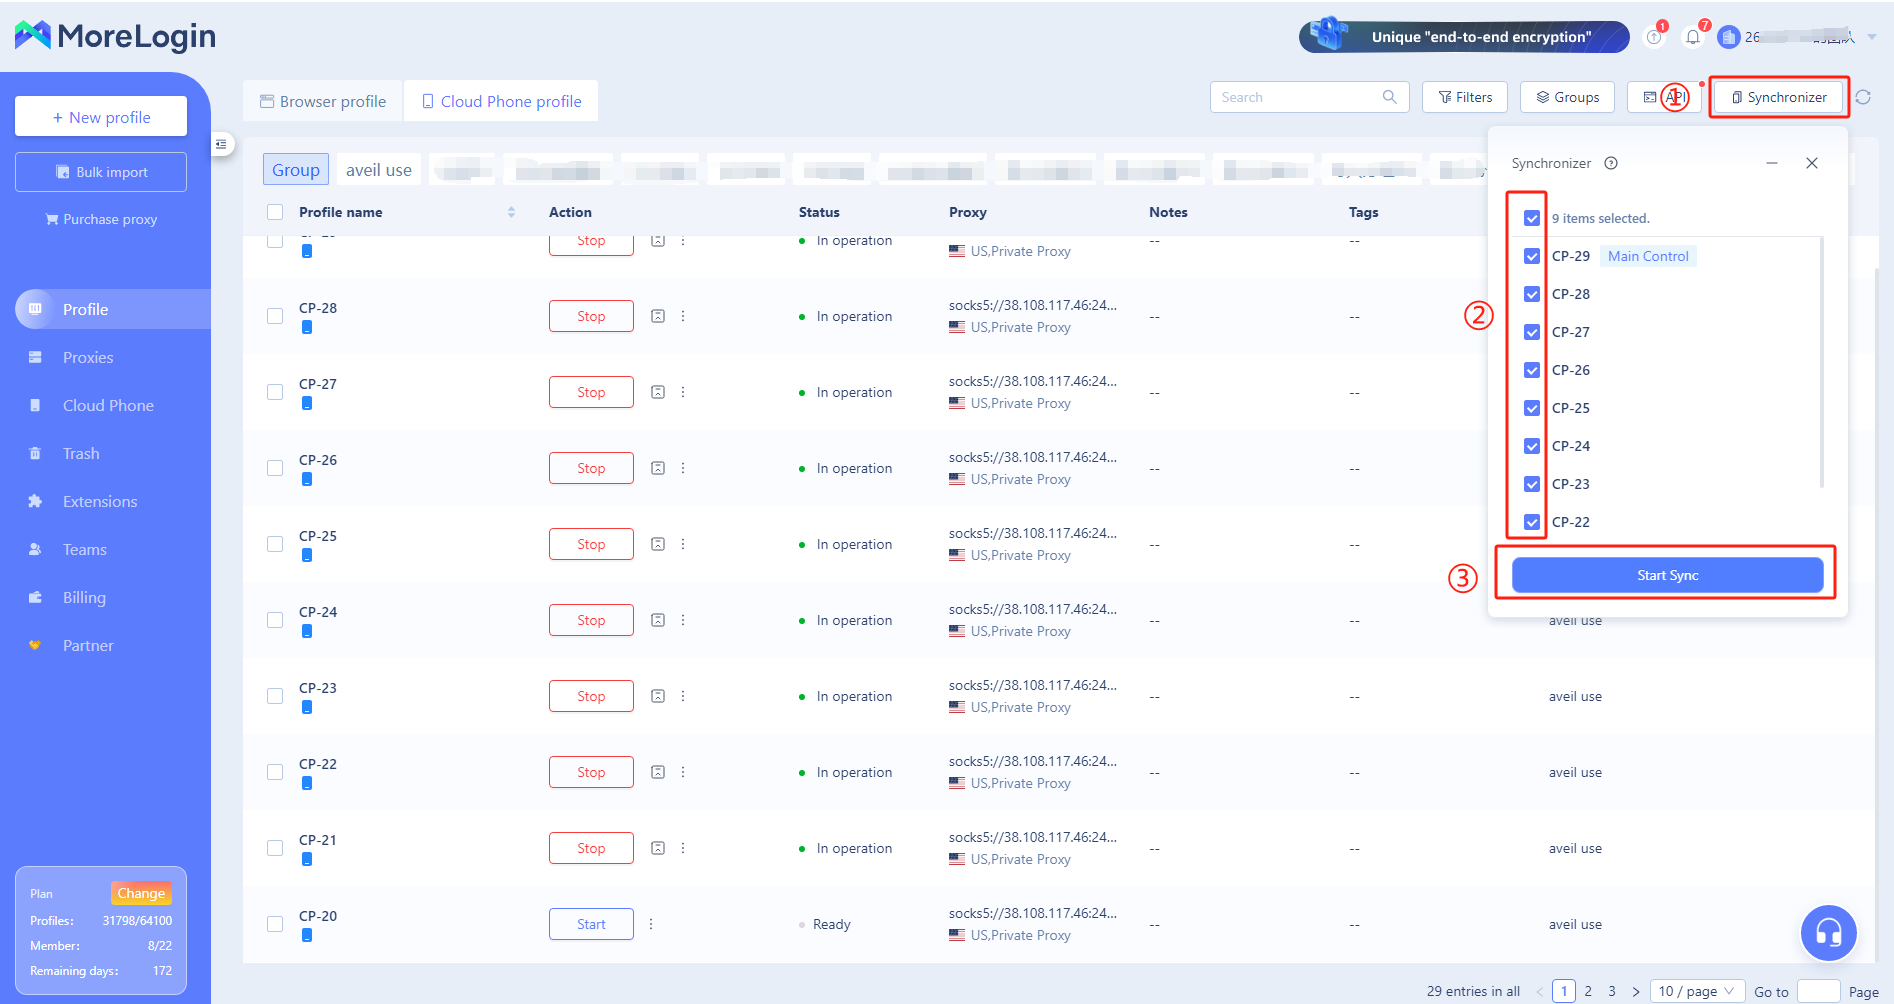
At least 2 Cloud Phone profiles are required.
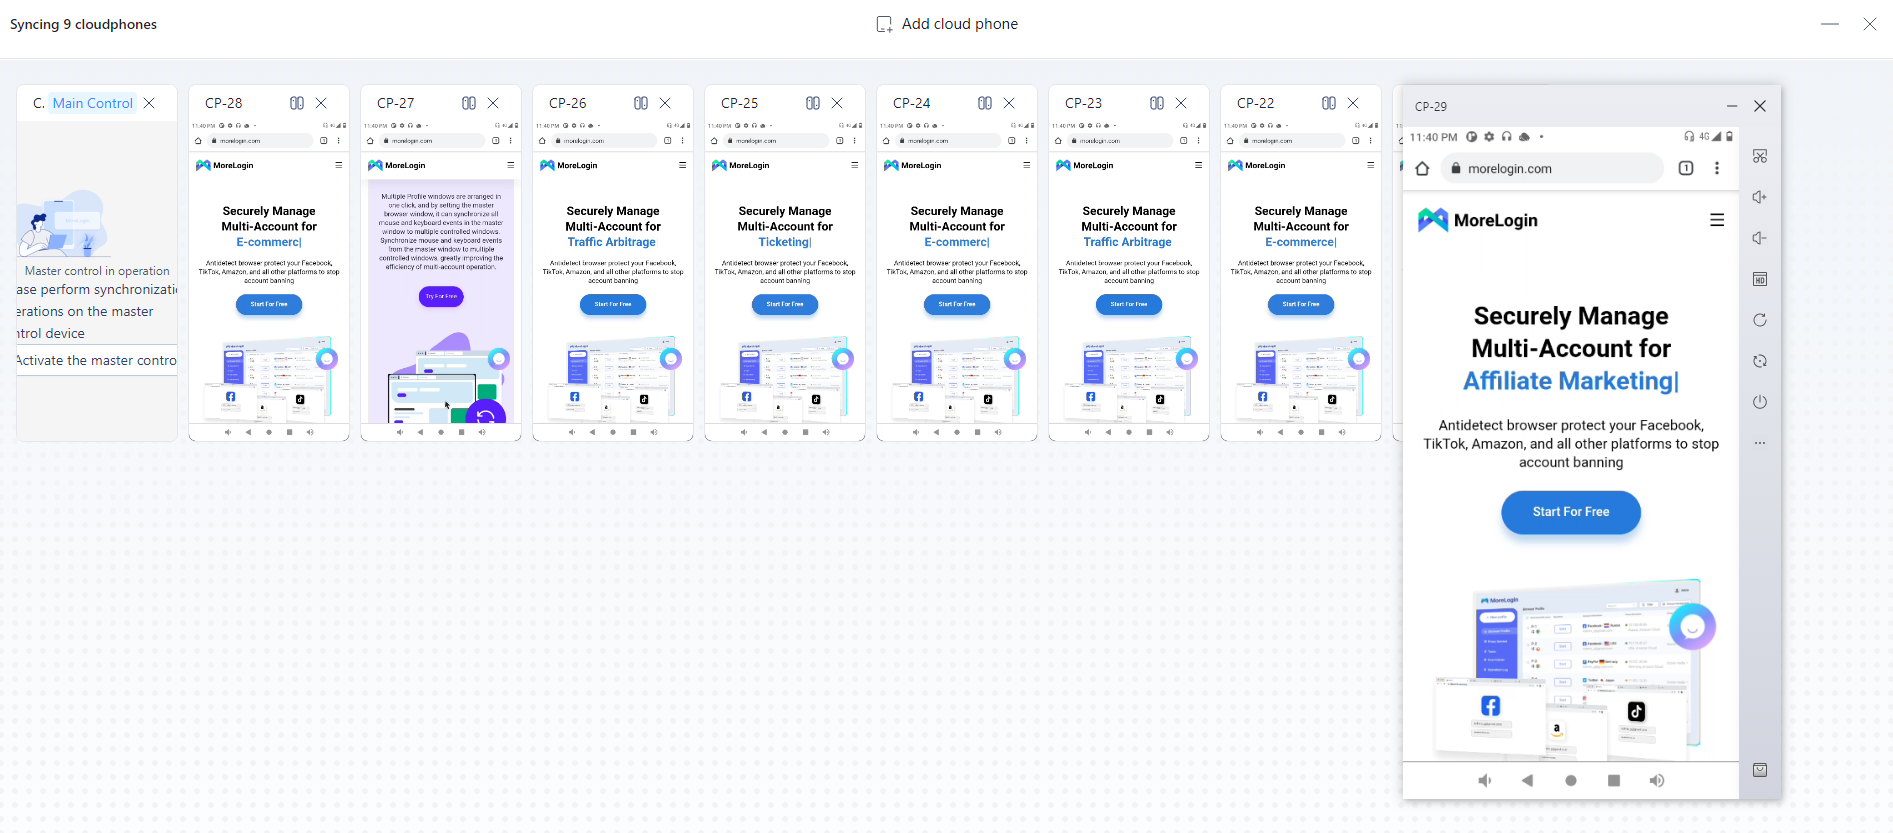
- After starting the synchronizer, you can use the mouse and keyboard to control the main control window to complete the synchronization operation and quickly complete your business through batch operations.
Currently only supports the internal functions of the cloud phone, and does not support the right toolbar functions: screenshot, upload file, volume, restart, etc.
Synchronizer interface introduction
- Add cloud phone: Please click on the synchronizer interface to add a cloud phone. You can add the cloud phone started by the current computer.

- Set as main control window: Find the cloud phone you want to set as main control window, and click "Set as main control" at the top.
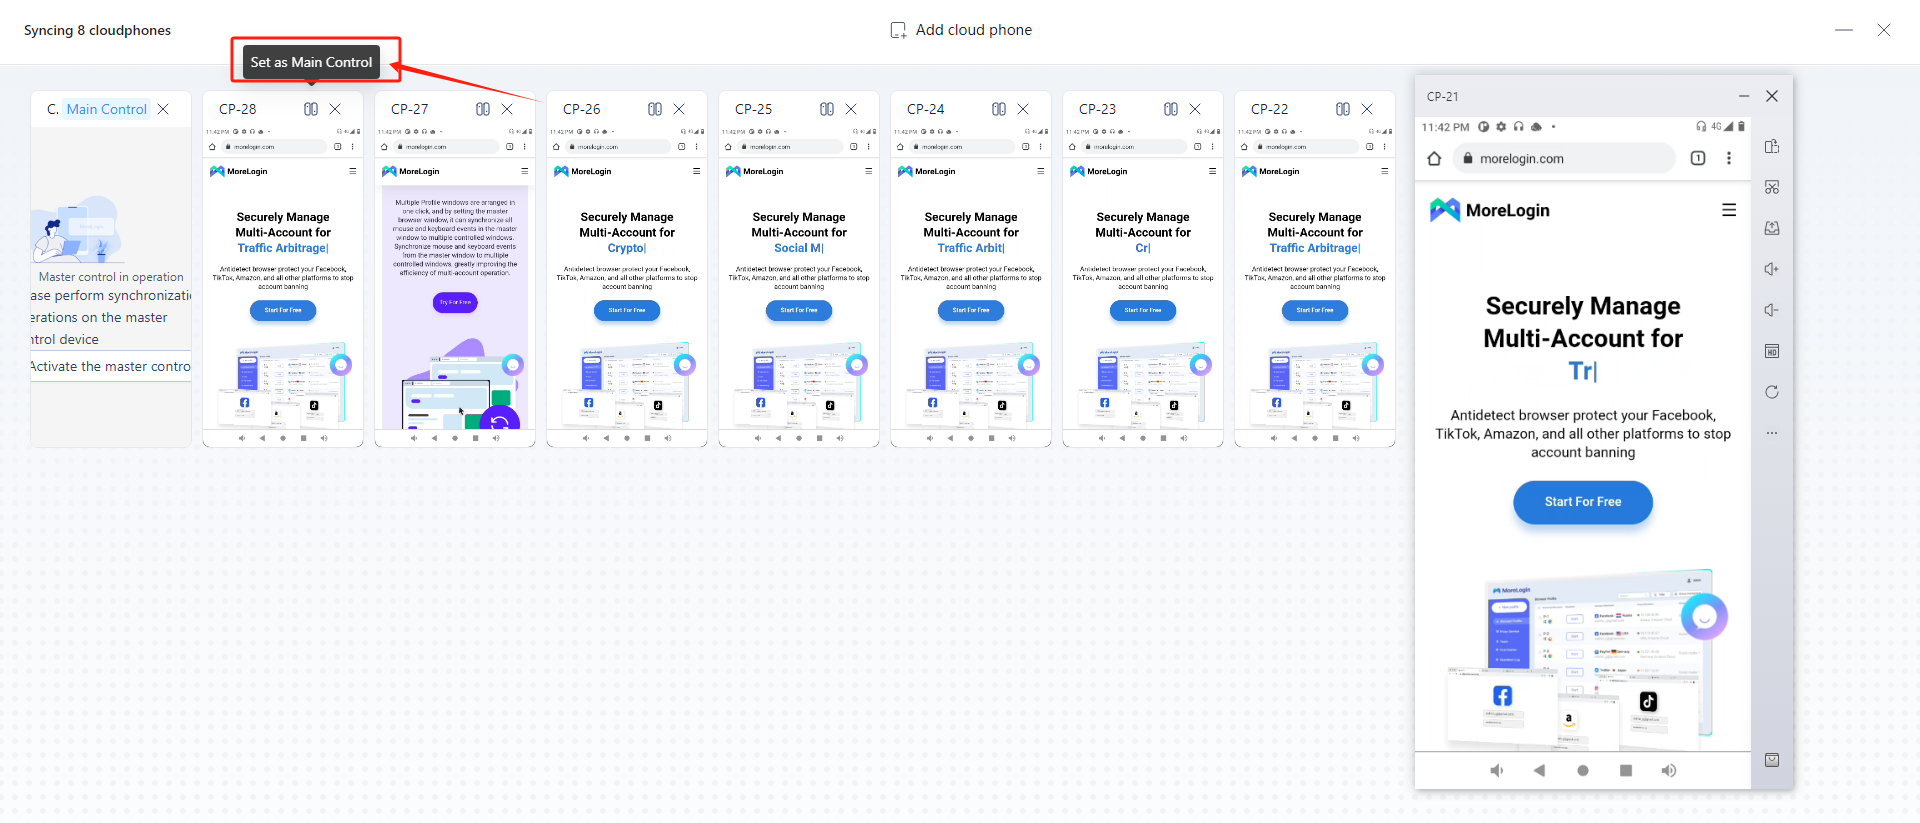
After setting it as the main control window, it will automatically move to the first position on the left and display in a large window. For details, see the image above.
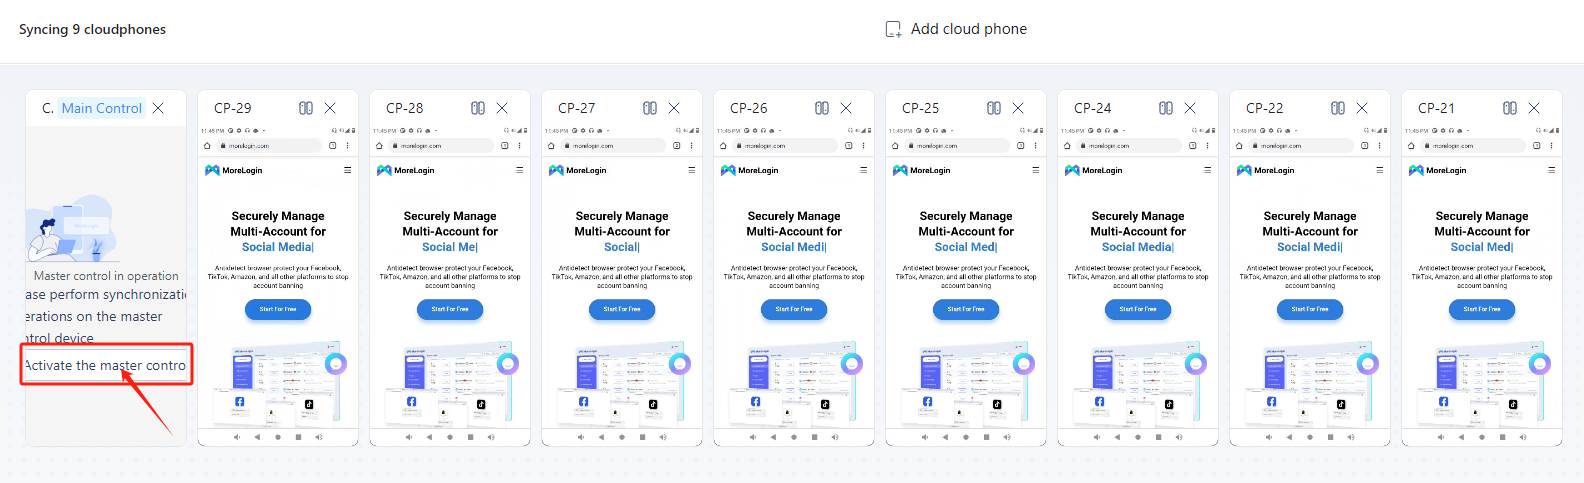
- Activate the master control: When the master control is hidden, you can click it to activate the master window and perform synchronous operations.
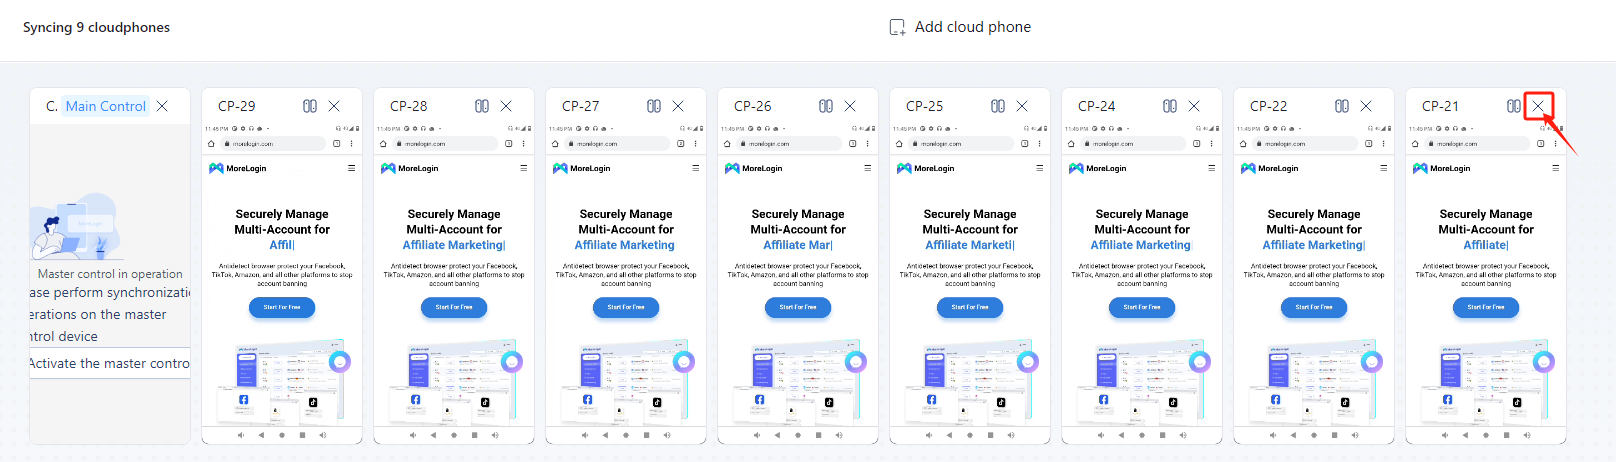
- Remove sync windows: Click "X" to remove sync windows, and it will no longer appear in the synchronizer interface.
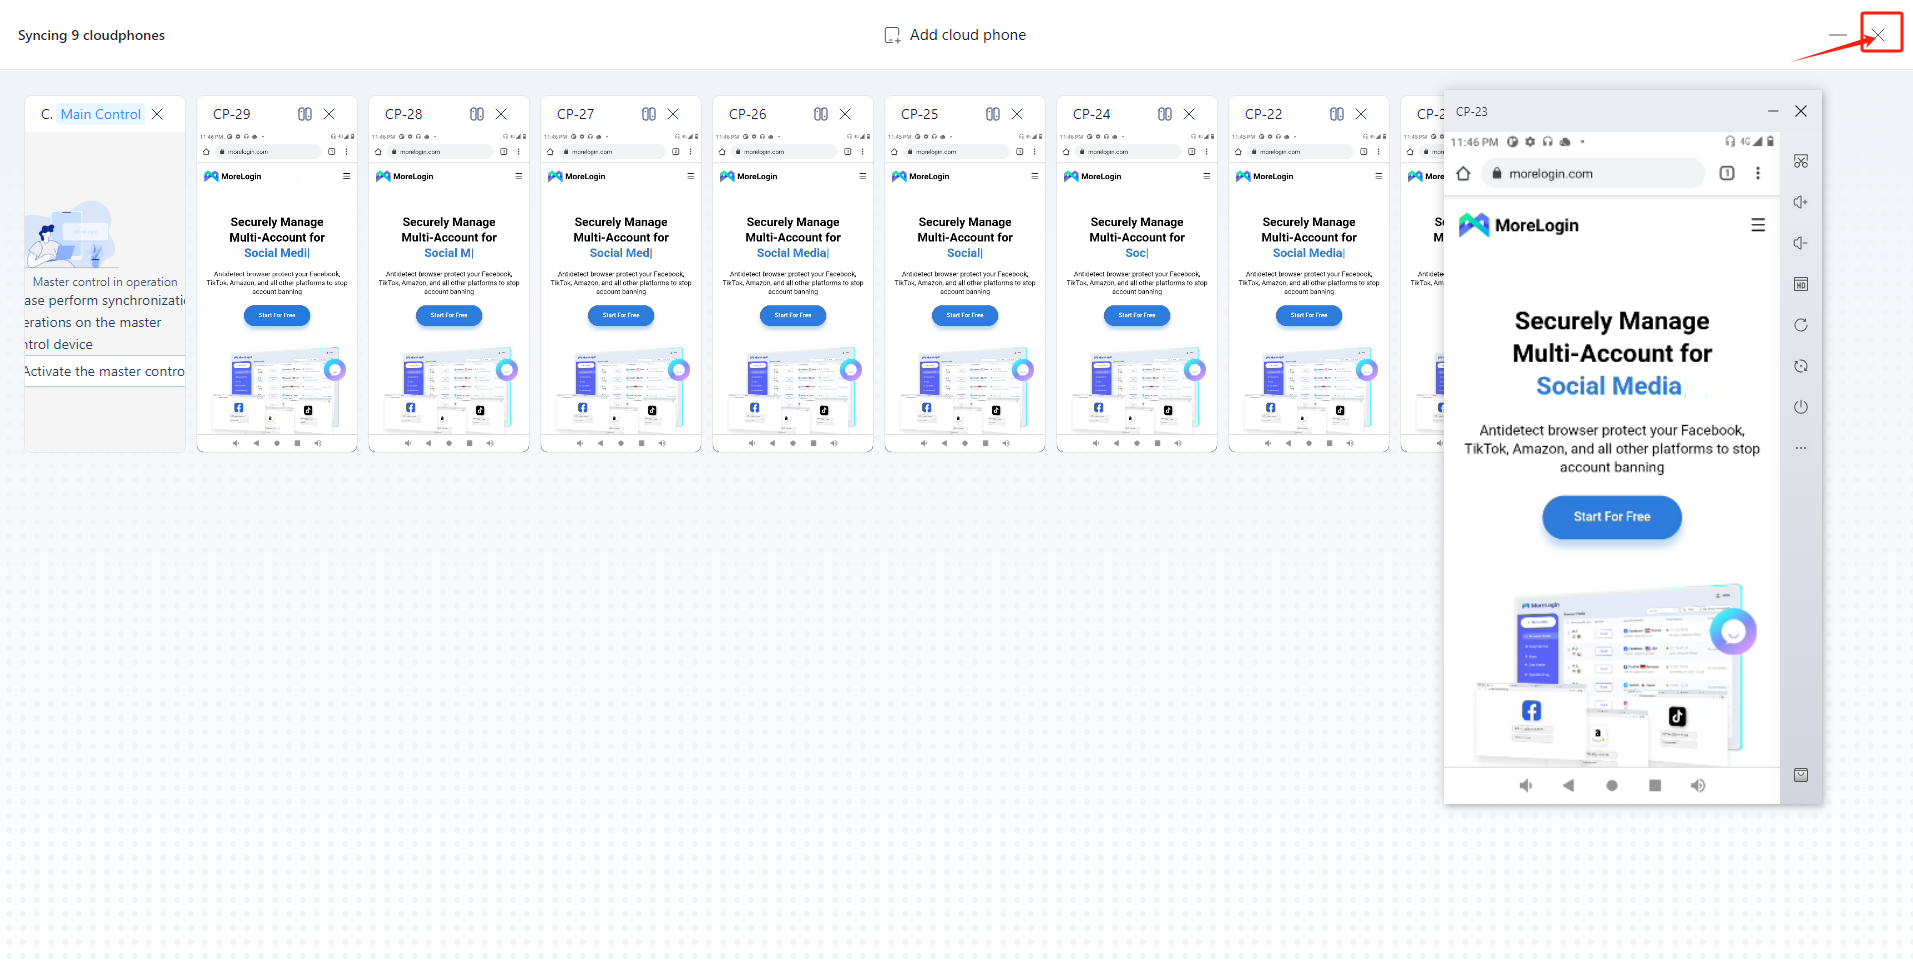
Turn off sync
- Turn off sync: Click "X" on the right side of the synchronizer to turn off the cloud phone synchronizer interface and exit synchronization.